Teaching Plan # 8
Teachers: Tayler, Bee, Alivia
Age(s) of students: 9-10
Room request (include top 2): 3111 (small room next door), 3115 (same set-up as 3109)
National Art Standard: VA:Cr1.2.3a: Apply knowledge of available resources, tools, and technologies to investigate personal ideas through the art-making process.
Learning Goal(s): Students will demonstrate personal creativity by making artwork using tape (an available tool) and a medium of their choice.
Materials needed:
- Cardstock paper
- Paintbrushes
- Watercolor paint
- Oil pastels
- Tempera paint
- Blue tape or scotch tape
- Sharpies
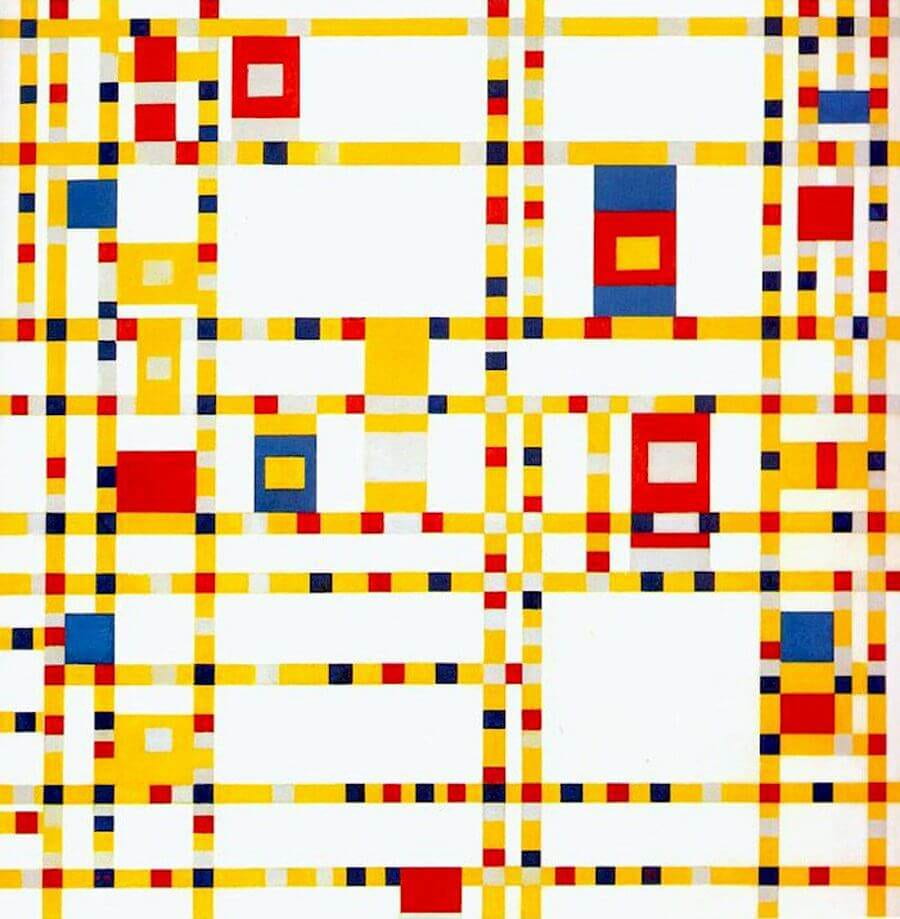
Professional Art Images to be shown: https://docs.google.com/presentation/d/1FjZthYvkoi8tnubDEZip_g6jZHVQb3U0hXzFdubKe_A/edit#slide=id.gfb015f19ca_0_12
Pick-up activity: I Spy
Description of how you will teach it:
- One student will pick something for the others to guess
- They will give clues like
- I spy with my little eye something red
- The students will then keep guessing things that are red that they can see around them until they guess the object
Time expected: 5 to 10 Minutes
Who is leading?: Bee
Starter activity: No starter activity since it is a shortened day.
Description of how you will teach it: N/A
Time expected: N/A
Who is leading?: N/A
Project(s): Tape Removal Masterpieces
Description of how you will teach it:
- Today we are going to be making artwork using tape and a medium of your choice. That medium can be oil pastels,watercolor, or tempera paint. Think about which medium you would like to use.
- The overall concept is that we are going to be placing tape on our paper and then painting or coloring the entire paper. Then, we will remove the tape, leaving the areas where the tape was white while the rest of the page will be colored.
- Okay kids, so now, grab the colors of the medium you want to use.
- Start by placing down the tape in lines or geometric shapes. Make sure to firmly press it down to prevent paint from getting underneath it.
- Once you have tape where you would like it, use your medium to fill the entire page with color. Go right up to the tape with the color, and even on the tape a little bit, because if you don’t, there will be more white space than just where the tape is.
- Once you are done, wait for the paint to completely dry if that is the medium you chose.
- Then, remove the tape carefully. Teachers can help if needed. You do not want to rip the paper in the process of ripping off the tape.
- Your image is complete!
- If students finish early, they can use a sharpie to add details to their image.
Cleanup:
- Each student who used paint needs to wash all of the paintbrushes they used. The method for washing a paintbrush is to rinse it off, rub the brush alongside the bottom of the sink until the water is no longer colored, and then put soap in your hand and rub the brush in the soap.
- Paint Brushes then need to be placed inside the cups of paint brushes by the sink.
- Oil pastels need to be placed within their container.
- Tape that was used needs to be thrown in the trash.
- If there is paint on the tables, use washcloths to wipe them down.
Time expected: 20-30 minutes
Who is leading?: Alivia
Drop-off activity: What was your favorite project we did?
Description of how you will teach it:
- I will ask the students what their favorite project they did was
- I will ask them why it was their favorite
- We will go all around the circle until everyone has shared what their favorite project was
Time expected: 5-10 min
Who is leading?: Tayler
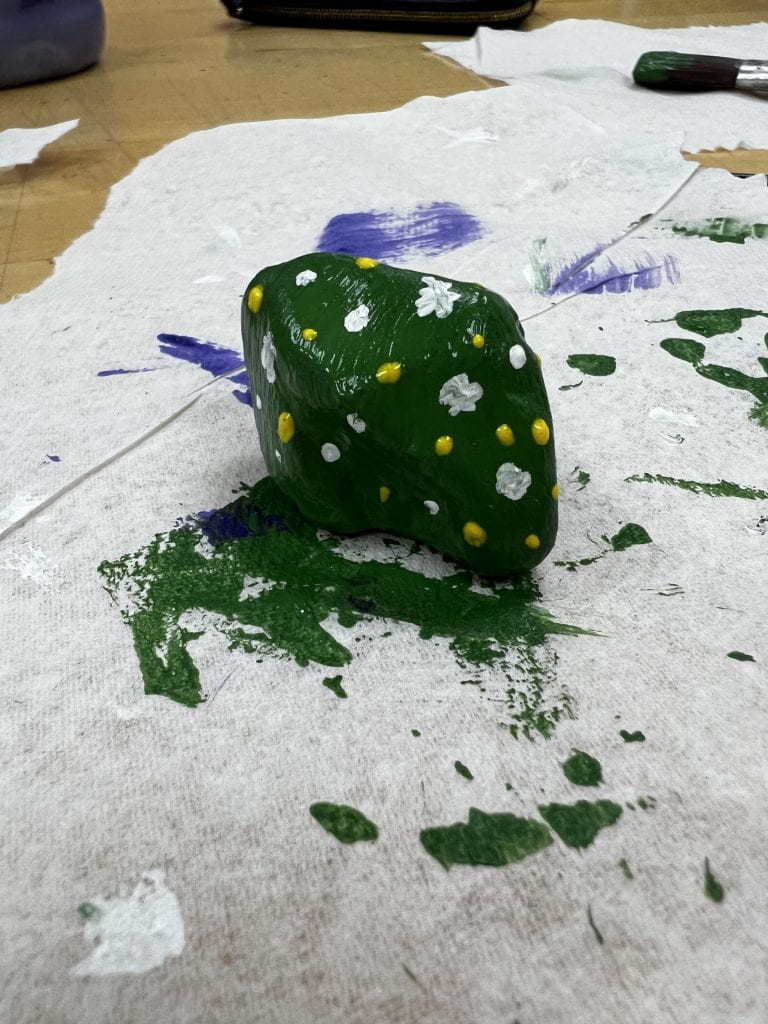
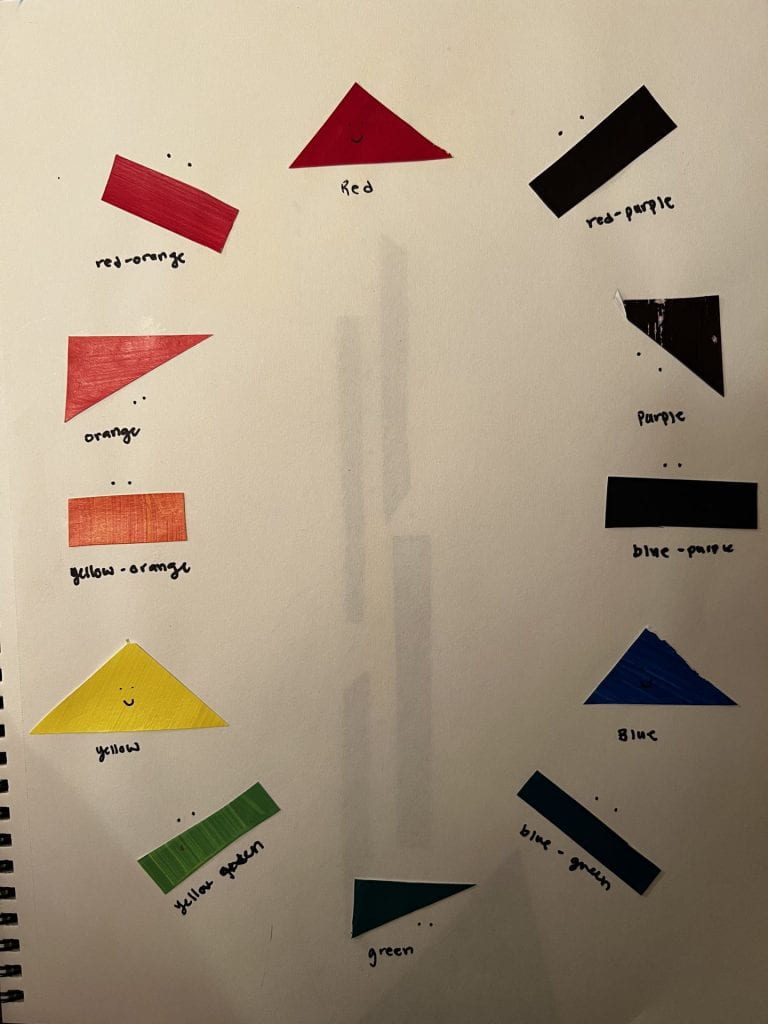
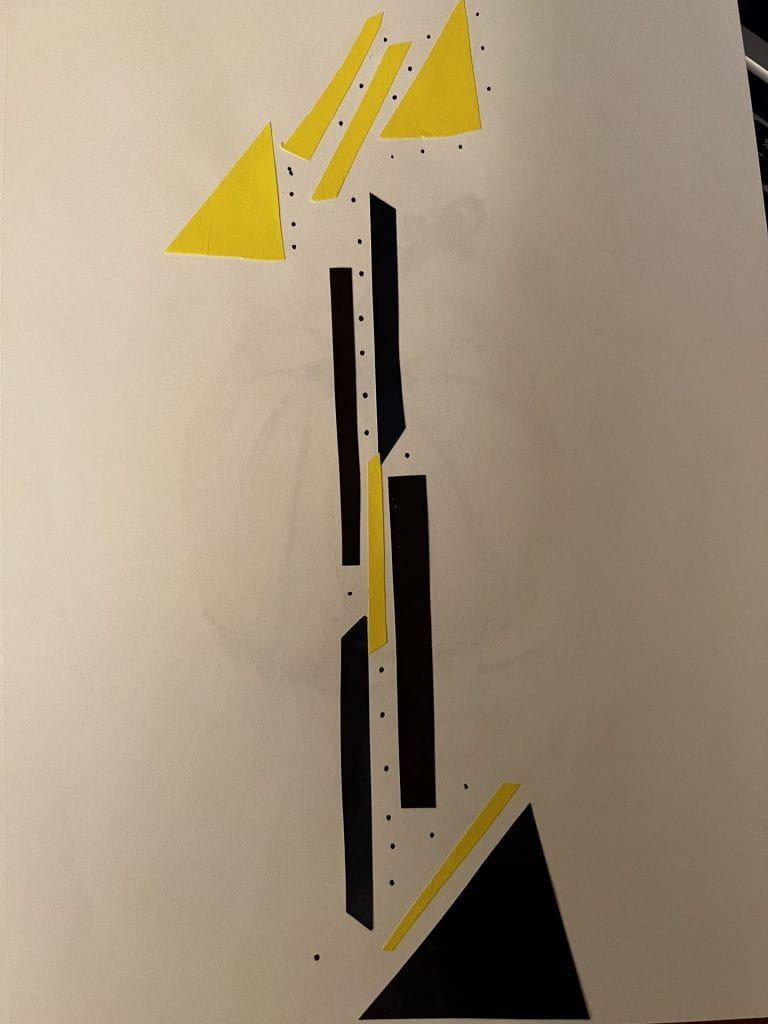
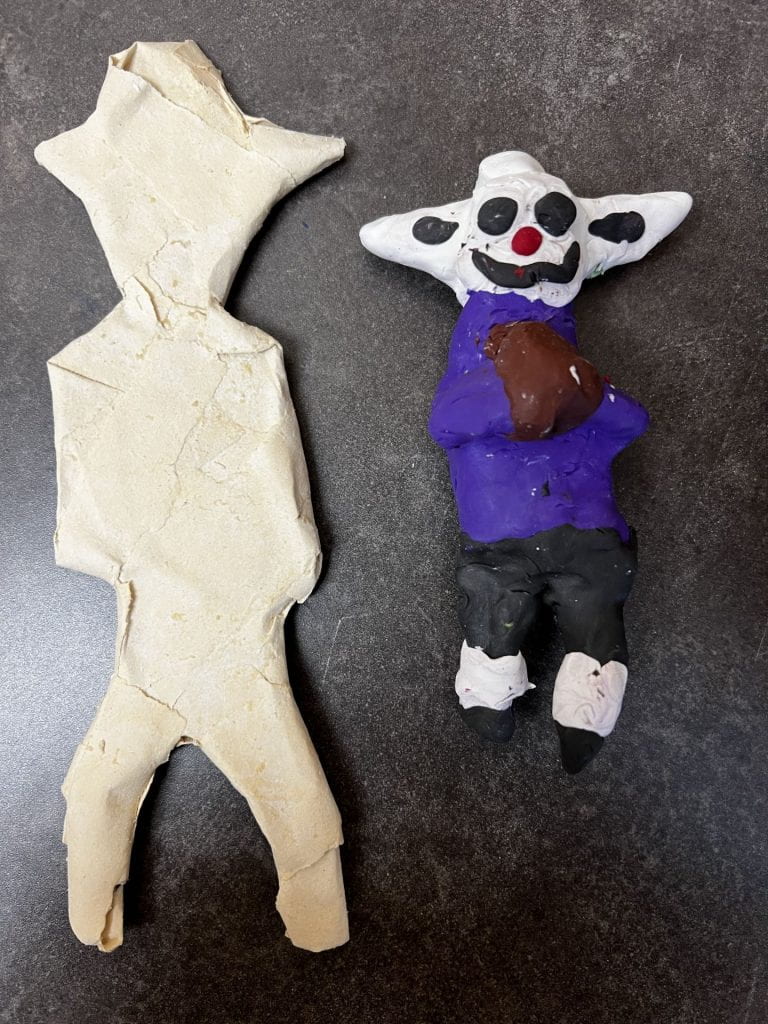
Sample Work: