Lesson Plan Format
Teaching Plan # 2
Teachers: Alivia, Tayler, Bee
Age(s) of students: 9-10
Room request (include top 2): JKB 3109 or 3115
National Art Standard: VA:Cr1.2.4a: Collaboratively set goals and create artwork that is meaningful and has purpose to the makers.
Learning Goal(s): Students will be able to understand there are platforms other than a canvas in which art can be created on. Students will learn to create artwork meaningful to them using a rock and paint medium.
Materials needed:
- Art Supplies
- Clay
- Sculpting tools
- Cleaning Supplies
- Papertowels
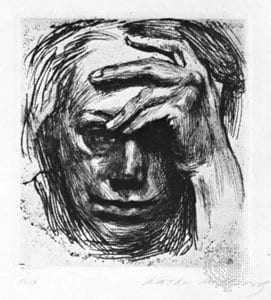
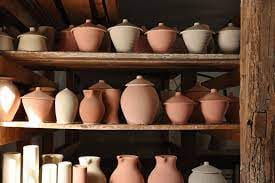
Professional Art Images to be shown: Lesson 2 – Clay Pots
Pick-up activity: Alliterated Names
Description of how you will teach it:
- As students arrive, ask them to think of descriptive word for themselves that starts with the same letter as their first name.
- I will then use my name as an example “For example, I’m Bubbly Bee”
- We will then go around in a circle, starting with myself, and saying the alliteration and name of the previous people and ourselves.
- For example: “Awesome Alivia, Tenacious Taylor, and I’m Bubbly Bee”
- We will go around as time allows or when most people are getting everyone’s names.
Time expected: 10 minutes max
Who is leading?: Bee
Starter activity: go over the different rules and tactics for using clay, and show pictures of what we have made in clay. Also have them practice making a small pinch pot with a piece of clay.
Description of how you will teach it: (things I will say and show)
- Explain the rules about how to avoid things breaking in the kiln: THICKNESS must be avoided. Make sure that no part of your clay piece is thicker than your thumb.
- Air bubbles will lead to explosions as well. If you are having a hollow part of your piece, make sure there is a place for the air to escape.
- We are now going to make a pinch pot to begin. Start by forming your clay into a ball. Use your hand to hit the clay hard and form the ball.
- Once the ball is formed, stick your thumb into the middle of the clay ball and push down. Then, pinch with your thumb and your pointer finger all around the pot. Try to pinch from the bottom of the hold. Do not allow your fingers to go through the bottom of the clay. (image on slide included)
- Then you can add your own touches! (multiple slides included with examples of details)
- You guys did a great job with that, so now we are going to have a little bit more freedom and create something else! (last slide contains many examples)
Time expected: 10 minutes
Who is leading?: Alivia
Project(s): Clay creations.
Description of how you will teach it: What I will say:
- Today we are going to be doing the first steps of a multi-week project. This week we will make our creations out of clay, and then we will put them in the kiln while you guys are gone. A different week, we will glaze the clay
- So to start out, think about what you want to create. Make sure to remember what we learned about how to avoid things exploding. You can also work on fixing or adding things to your pinch pot if you would like, but also create something new. You could create something to hold other things, something to be used in your house, a decoration, or anything that you want! Ask us if you need help!
- Remember that you can use the water in the middle of the table if your clay is getting too wet. You do not want your clay to be too wet or too dry. We also have all of these tools (ones provided in the classroom) to use.
Time expected: 35 minutes
Who is leading?: Alivia
Drop-off activity: We will play the game, rose, thorn, hippo.
Description of how you will teach it:
We will say something like:
- A rose is something good that happened during class today
- A thorn is something bad that happened today
- A hippo is something random that happened today
- Then we will all go around and share our answers
Time expected: 5-10 minutes
Who is leading?: Tayler
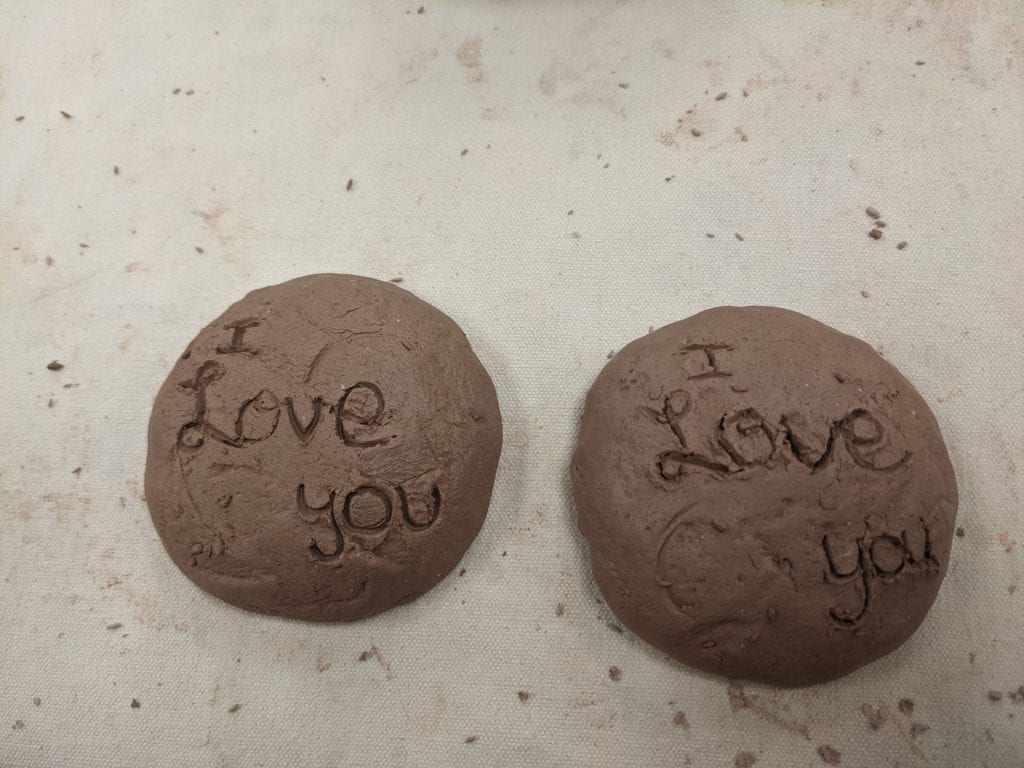
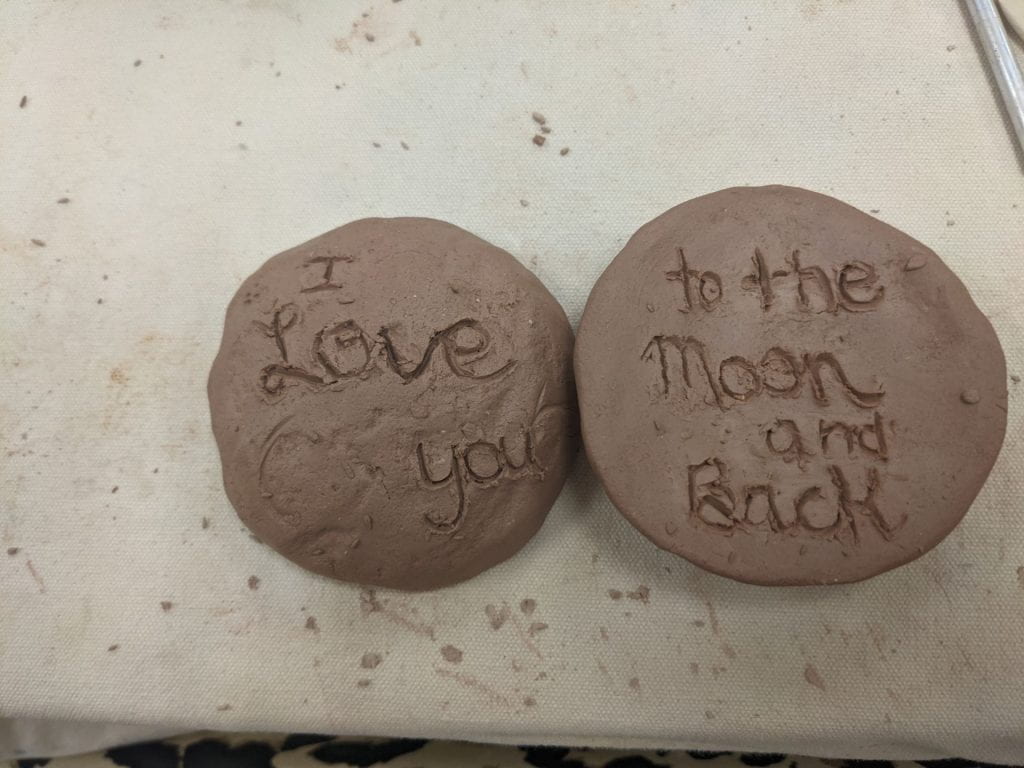
Sample Work: